Follow Along!
Follow along: AlexNet Example
The program launching process along with parameter settings are all simplified and set up on the Jupyter Notebook Environment.
- Open the alexnet.ipynb jupyter notebook
- Import the necessary libraries
- With the input picture, execute the image recognition
- Terminate the task upon its completion
(The Jetson Board used for these examples are => Jetson Nano)
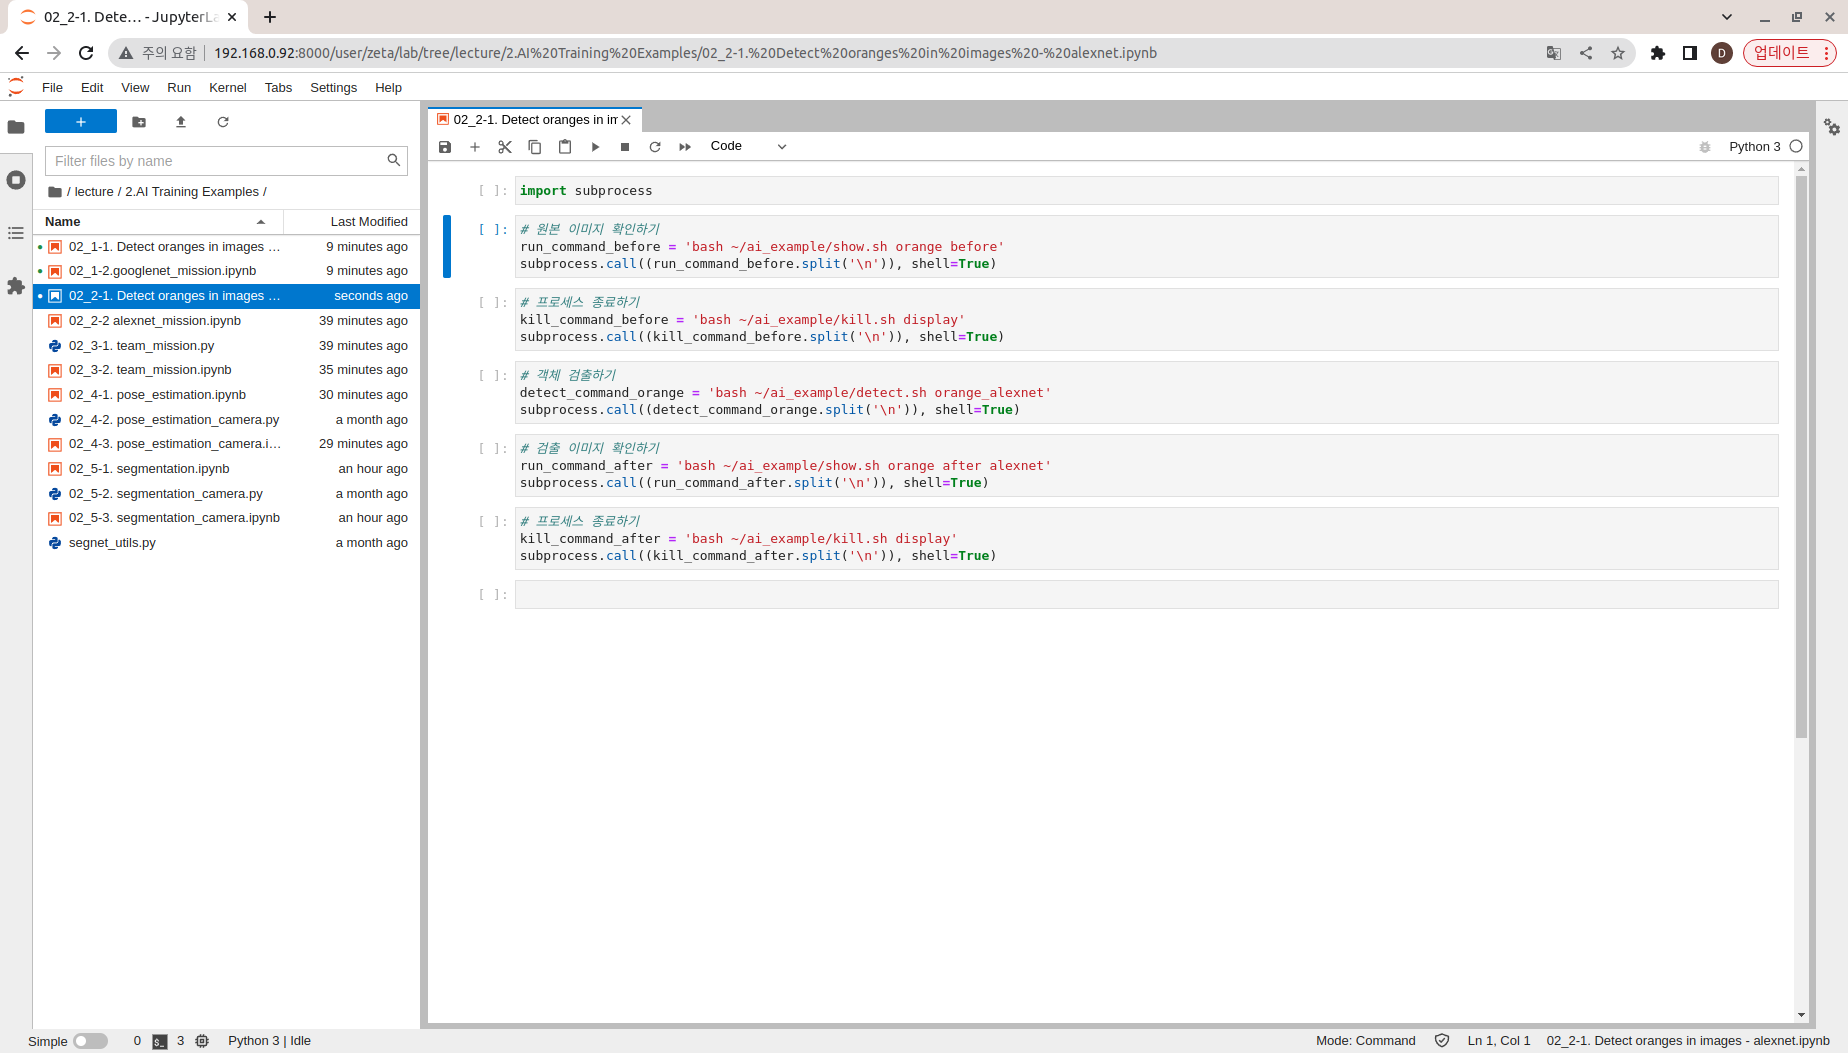
02_2-1. Detect oranges in images - alexnet.ipynb
- Running the cell codeCtrl + Enter
Import the subprocess module to run the example scripts (i.e. show.sh, kill.sh)
import subprocess
Check the input image
# Check the original image
run_command_before = 'bash ~/ai_example/show.sh orange before'
subprocess.call((run_command_before.split('\n')), shell=True)
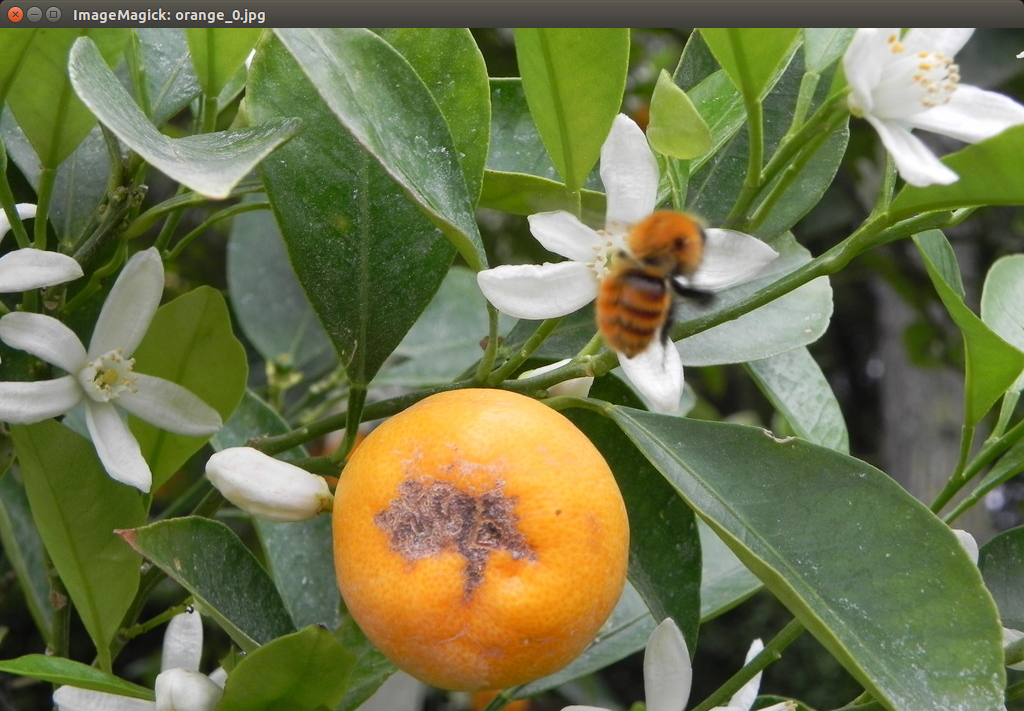
After confirming that the Input image is correct, terminate the image window
# terminating the process
kill_command_before = 'bash ~/ai_example/kill.sh display'
subprocess.call((kill_command_before.split('\n')), shell=True)
Guess what the image is!
# Detect objects
detect_command_orange = 'bash ~/ai_example/detect.sh orange_alexnet'
subprocess.call((detect_command_orange.split('\n')), shell=True)
Output the result on the image window
# Check the detected image
run_command_after = 'bash ~/ai_example/show.sh orange after alexnet'
subprocess.call((run_command_after.split('\n')), shell=True)
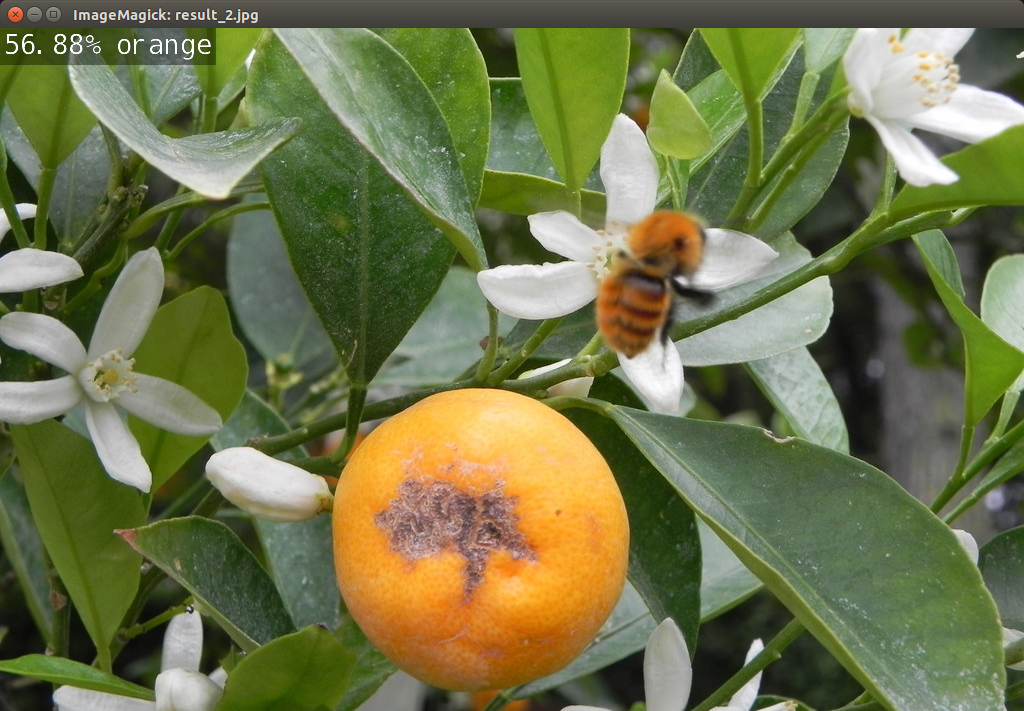
Terminate the process
# terminating the process
kill_command_after = 'bash ~/ai_example/kill.sh display'
subprocess.call((kill_command_after.split('\n')), shell=True)